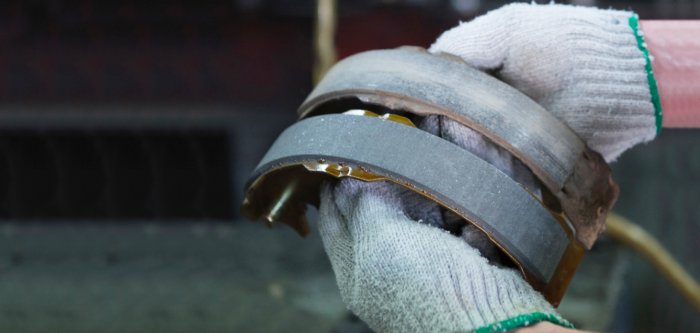
Bendix Brake Shoe technology has been designed with an advanced bond between the lining and the shoe platform. The semi metallic formulation extends the life of the drum and lining whilst the superior strength bonding delivers enhanced durability under tough driving conditions.
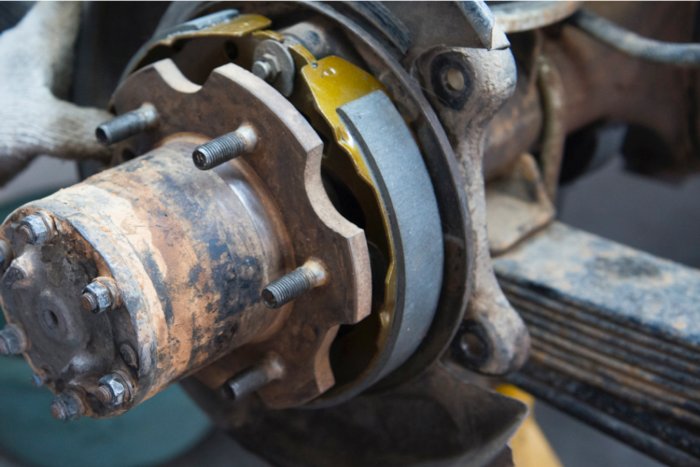
Fitting new handbrake shoes and pads to the LandCruiser 75 series is known to be difficult so specialist workshop, Heasman Steering, located in Sydney were given the task.
To correctly install these brake shoes, begin by removing the two mounting bolts and removing the caliper. Make sure to rest the caliper on something so the brake hose does not stretch or break. Place the matchmarks on the rotor disc and rear axle shaft, then remove the rotor disc. This will help during reassembly.
Using pliers, remove the tension spring. Remove the shoe return springs. Remove the shoe strut with spring.
Slide out the rear shoe, and remove the rear shoe and adjuster. You can now also remove the lower side tension spring.
Slide out the front shoe. Disconnect the parking brake cable from the lever. Remove the cups, springs and pins. Remove the clip. It may help to use pliers.
Remove the pin and wave washer, then disconnect the parking brake cable.
Using a screwdriver, remove the C-washer and pin. Remove the park brake bellcrank from the crank bracket. Remove the boot.
Inspect the disassembled parts for wear, rust or damage.
Measure brake shoe lining thickness. The minimum thickness is 1.0mm. Standard thickness is 4.0mm. If the shoe lining is less than minimum or shows signs of uneven wear, replace the parking brake shoes.
Measure brake disc inside diameter. Maximum inside diameter is 211mm. Standard inside diameter is 210mm. If the disc is scored or worn, the brake disc may be machined to the maximum inside diameter.
Using pliers, connect parking brake cable No. 2 to the bellcrank with the pin and a new C-washer. Apply high temperature grease to the adjuster. Connect the parking brake cable to the front shoe.
Install the pins, cups and shoe holddown springs to the backing plate.
Slide in the front shoe between the cup and the backing plate. Do not allow oil or grease to get on the rubbing surface. Then, install the rear shoe to
the tension spring. You can now install the adjuster between the front and rear shoes.
Slide in the rear shoe between the shoe hold-down spring cup and the backing plate. Using pliers, install the tension spring. Do not allow oil or grease onto the rubbing surface.
Install the front return spring and then install the rear return spring. Align the matchmarks and install the rotor disc.
Adjust the parking brake shoe clearance. Temporarily install the hub nuts. Remove the hole plug. Turn the adjuster and expand the shoes until the rotor disc locks. Return the adjuster eight notches and then install the hole plug.
Install the rear caliper assembly and torque the two mounting bolts to 1,050 kg-cm (76 ft-lb, 103 N.m).
With the handbrake shoes, brake pads and new discs installed it was off for a test drive.
See this process in action below
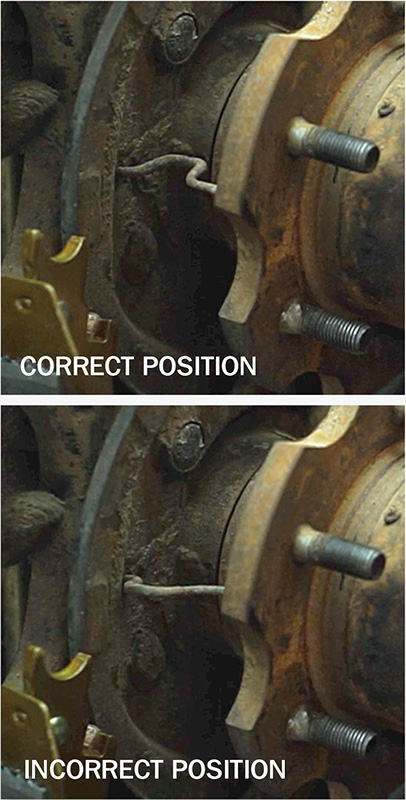
Installing the brake shoe pin in the correct position is absolutely critical. If the pin is installed in the incorrect position, it can push the shoe out and cause the handbrake to lock up and burn out. Put the pin in the correct position before you connect up the front shoe.
This article is brought to you by Mechanic.com.au Premier Community Partner Bendix
