Given that brakes are an important vehicle safety component, it is usually an area where special attention is paid, however on occasion some details may be overlooked which could result in a comeback.
In this article, we’ll take a look at the best ways to avoid customer complaints by carrying out correct inspection, component replacement, lubrication, checking lateral rotor runout and more.

The Comeback
There isn't much worse of a feeling for a technician than to see a job you have recently completed return to the workshop. When it comes down to brakes, this can be caused by anything from brake dust on the wheels through to noises and vibrations.
Sometimes these issues are caused by the Workshop (Sourcing poor quality components), the Customer (Abuse and mistreatment of brakes) and even the Manfacturer (Manufacturing defects) however in this article, we are going to pay attention to those that may have been created by the technician.
Brake noises
All brakes make some level of noise, it’s an unavoidable consequence of applying pads to a disc or shoes to a drum. What we don’t want however is for excessive noise that transfers up to the cabin through the vehicle’s caliper bracket and spindle assembly.
Reduction of noise is one of the key areas of focus for manufacturers of braking components like Bendix and DBA. They aim to change or eliminate the vibrations caused by braking which subsequently absorbs the noise by using different abutment pads, adhesives, compounds and materials, retainer clips and shims.
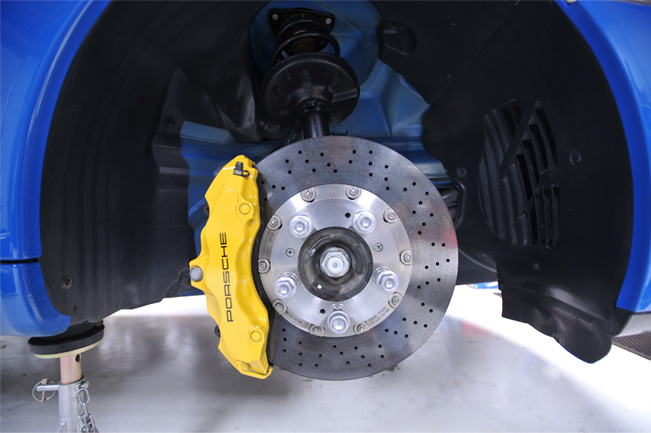
The Initial Inspection
It goes without saying that with any brake concern or issue, a thorough visual and hands-on inspection of the vehicle's braking system should be the first step. If simple things are missed here, that is our first ingredient for a comeback.
Close inspection of the way the friction materials have worn can be a good indication of problems like a sticky caliper, binding slide pin, pads or even a restricted brake hose or damage backing plate. Although the main job of the backing plates are to prevent road grime from getting on the rotors, in many instances they also hold parking brake shoes, hardware, support ABS parts and provide directional airflow for cooling. The visual inspection should include a close look at these parts as their replacement may be required to prevent a rubbing or grinding noise complaint or a problem like premature brake fade due to inadequate cooling.
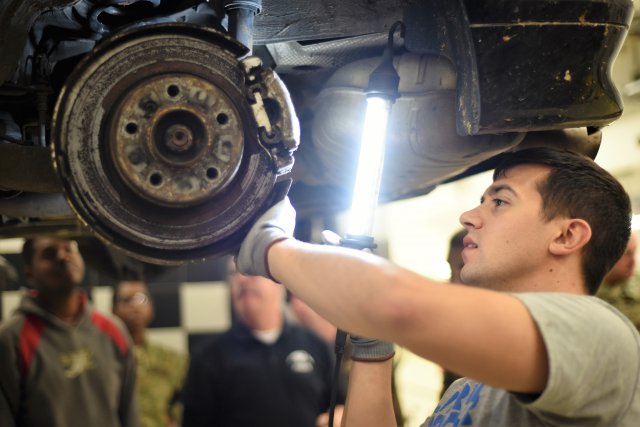
On the Job
Be sure to pay attention to the simple things from the calipers to parts inside the drums that can cause noise and vibration trouble.
Simple procedures are often overlooked and can start when the caliper is removed and allowed to hang by the brake hose. The flexi hose is not designed to hold the weight of a caliper and a simple hook or cable tie should be used to support it. The internals of the hose can be damaged if the weight of the caliper is applied to it and this defect may not show up right away, but the damage may result in a restriction causing a pull or dragging caliper or worse, a leaking hose.
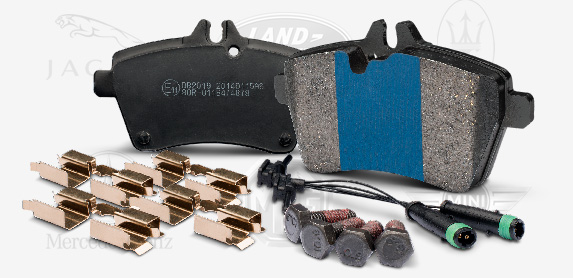
Bendix Euro+ Complete European Brake Pad Kit
Most brake component manufacturers will advise that a number of parts of the brake system should be replaced when performing a brake job, not just the pads or shoes, in order to ensure a trouble-free brake job. This normally includes the abutment pads, pad retainers, brake pad shims, anti-rattle clips, the caliper bushings and in the drum system, all the springs and hold down hardware.
The reason for this is simple. It may not be obvious or visible, but these parts wear out. This is one reason many superior quality brake pad sets now include new abutment pads. Remember, these parts all started out new together and wore out together.
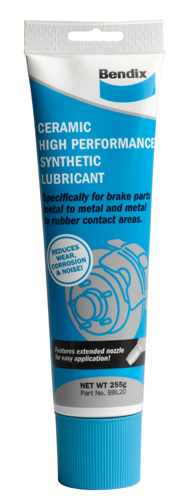
Bendix's Ceramic High Performance Synthetic Lubricant
All the rust, scale, corrosion and road grime should be removed and a premium brake lubricant like Bendix's Ceramic High Performance Synthetic Lubricant installed on the parts that require lubrication. A brake pad that is binding due to rust or corrosion or moving around because of worn out abutment pads will cause noise.
The importance of new quality brake shims and their correct installation is also critical to a noise-free brake job. The shims that fit onto the back of the brake pads are not just a simple piece of steel.. They are specialised and highly engineered components of multi-layered steel (MLS), elastomeric rubbers and other compounds that are bonded together and then bent into the proper shape. The engineers will fine-tune the layers and shape them to give the shim the best vibrational damping characteristics for the particular vehicle and braking system. If the shim doesn’t properly contact the back of the brake pad it will not be able to do its job properly and may actually create more noise than it absorbs!
Most quality brake pads will already have a shim installed on the pad when you open the box. There are a number of reasons for this. The factory is a cleaner environment than most Workshops and is dirt free for proper installation. They can be riveted or pressed in the proper position or the adhesive backing can be thermally activated under pressure to ensure the shim stays in place and functions as designed. Inferior quality factory shims can move off the brake pad, create noise and in some cases even cut into the brake rotor!
Before fitting new brake pads, a small amount of the brake lubricant should be used to add an extra layer of vibration isolation between the pad and the caliper or bracket. If the pads come with two-piece shims, a small amount can be used in between them, but the brake lubricant should be used sparingly. Excessive lubricant will melt off and be wasted or attract debris and brake dust and cause other issues and possibly noises. Proper lubrication of drum brakes, again, calls for a sparing dab on the contact area of the shoes backing plates as well as the adjuster.

Machining a Brake Rotor
Drums and Rotors
If you happen to be machining a set of drums or rotors, a bad finish can easily create a noise. The end result should be non-directional and a smooth finish.
Poor machining can result in ‘record-player’ type grooves in a drum or rotor which typically creates both poor braking performance as well as a frustrating noise on application and release of the brakes.
Another common practice is to use brake cleaner to clean the dirt and swarf from a freshly machined drum or rotor. This is not always effective due to the fact that it evaporates so quickly. Consider using hot soapy water to achieve a more thorough cleaning of the drum or rotor prior to using brake cleaner.
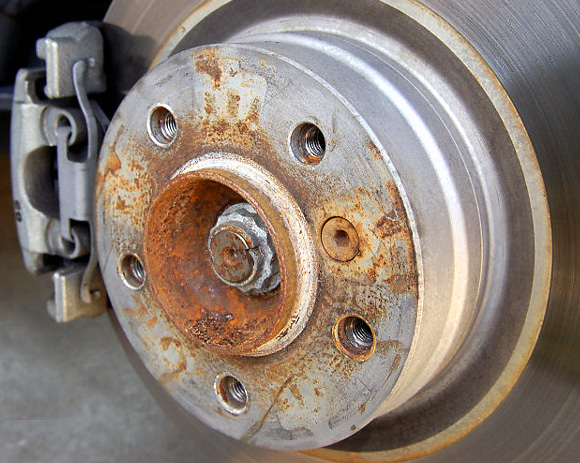
A rusty hub that requires cleaning
Installation
Before installing the rotor onto the hub flange, make sure it is cleaned from corrosion or rust that could affect it’s runout. Try to check the rotor and hub assemblies runout before installing the caliper.
Top Tip - Measuring Lateral Runout
To measure rotor runout, attach the rotor to the hub flange and secure the wheel nuts. Using a dial indicator gauge, measure the runout approximately 10mm from the rotor’s edge, by slowly turning the rotor. When performing this test, mark the high and low spots on the rotor and index the rotor location on the flange with a texta. Most light vehicle applications will show less than 0.05mm. If the reading is more than 0.05mm, remove the rotor and rotate it 180 degrees on the flange and re-measure. If it’s still out of specification the root cause has to be found or a comeback could result. Excessive runout that is greater than 0.15mm is an indication that either the hub flange, rotor flange or wheel bearing assembly may require replacement.
Excessive lateral runout can lead to uneven brake pad material transfer to the rotor. Brake pad material transfer to the rotor and drum is essential for correct brake function and feel but unevenly deposited materials will effect the coefficient of friction and can create pedal pulsations. As little as 0.07mm of runout can easily result in a pulsating pedal causing a comeback within 5,000km or less due to this uneven pad transfer.
Wheel bearings as well as the wheel itself needs to be properly torqued in order to prevent excessive runout. Unevenly or over-torqued wheels can also cause rotor distortion.
Road Test
Now that we’ve inspected, machined, cleaned, measured and assembled our braking components, we need to carry out the all important road test.
Depending on the brake pads used, the bedding in procedure may vary, however the typical recommended procedure to allow the resins in the brake material to bed in an set properly is approximately 20 smooth stops from 50km/hr with a 30 second break in between. We can’t rely on our customers to perform a proper bedding in procedure and we also need to ensure the brakes are functioning correctly and safely.
It’s easy to blame a set of pads or rotors when a customer comes back and complains that their brakes are squeaky or vibrating, but what we should really be doing first is checking that we adhering to the ‘Four C’s’
