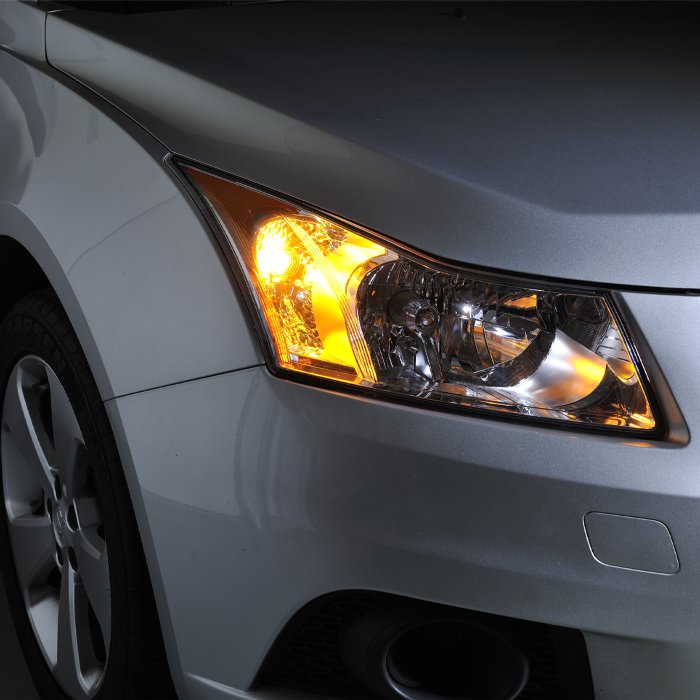
With more traffic on the roads than ever before, indicators play an increasingly important role in allowing us to know when fellow motorists intend on turning, merging or changing lanes.
Having a broken or malfunctioning indicator can make for a dangerous situation on the road. If there’s something not quite right with the indicators on your car, let us put you in the right direction.
The most tell-tale sign that your indicators aren’t working properly is if they flash ‘fast’. If you go to indicate and the ticking of the indicator or the flashing of your turn signal on the dash is flashing faster than usual, chances are that one of your indicators isn’t working.
Also, most modern vehicles will now constantly monitor all exterior lighting on your car and give you a warning on your dashboard if one of them is not working.
The team here at Narva recommend checking all lighting on your car periodically. If you simply place your hazard lights on, turn all headlights (and spotlights if fitted) and get a friend to put their foot on the brake, you will be able to see if anything looks out of place.
*Did you know*
Indicators flash ‘fast’ when one of them is not working because your complete indicator system is powered by a certain amount of power ‘load’. When an indicator isn’t working, the rest of the system in turn receives more power, therefore they flash quicker.
One of the most common reasons for indicators to be flashing fast while you are indicating is a blown bulb. If your car uses standard globes or halogen lighting for indicators, it will be as simple as purchasing the relevant globe for your indicator and changing the bulb. You can find out which globes are right for your car’s indicators by using Narva’s handy Globe Application Guide. Also, be sure you purchase the right colour globe (some cars use amber globes, some use clear globes with an amber lens).
If you are unsure as to how to access the bulb to change your indicator, please refer to your vehicle’s user manual or do a quick Google search. Remember not to touch the glass of the globe when fitting them as it can shorten their lifespan.
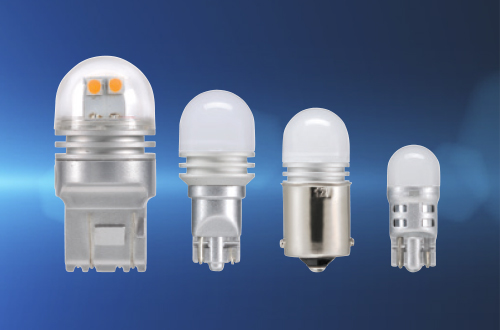
If your car has LED indicators installed from new, you can get a set of replacement LED indicator globes. It is actually more common for LED lighting to malfunction due to bad wiring or no power draw, so be sure to check out all wiring, grounds and power draw before replacing LED indicators.

One of the best ways to modernise the look of your vehicle is upgrading your exterior lighting to crisp LED technology. LED bulbs are readily available to convert your standard halogen globes to LED, and if you are adding new indicators to your vehicle (for example, when purchasing a new bull bar or strengthened rear bar for 4WDs) then LED is the way to go.
It’s biggest advantages, apart from the aesthetic appeal, is the low power usage and brighter lighting. However, most cars will not be ready for the change in power draw or the addition of extra lights which in turn can cause some problems, where your car will usually show the same symptoms as if the indicator is not working at all. Here’s how to get around that:
Because your car relies on a certain amount of power load to detect a globe outage, this may result in your brand-new LED indicators to flash rapidly or show a globe warning on your dashboard. In some extreme cases, modern cars may also turn off other electronic features such as Adaptive Cruise Control if it feels as though you have a globe that is out. Don’t worry though, as there is an easy way to solve this problem.
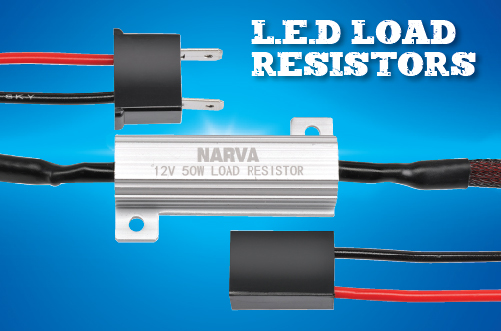
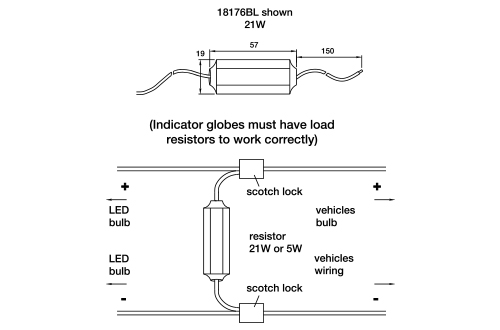
LED Load Resistors are a simple solution that replace the power ‘load’ that has been reduced by fitting LED globes in any power circuit that relies on a power load (such as your indicators). They are available in different voltage/watt/resistance to suit your vehicle and come with extended wiring for easy installation.
Note – if you are installing a resistor, be sure to fit them on a heat resistant metal surface and follow all usual electrical safety protocols.

One of the biggest advantages of L.E.D is low current draw; however, this can cause new problems in your electrical system particularly relating to load sensitive flashers resulting in system warning messages and rapid indicator flash patterns occurring.
When converting incandescent lamps to L.E.D lighting, your flasher may not recognise the L.E.D lamp because it relies on load to detect “globe outage”. This may result in fast flashing indicators or a warning lamp on your dash.
The best solution is to fit a non-load sensitive flasher or a flasher with a measured load matching the L.E.D load, but this is not always practical, and many flashers are integrated in the vehicles BCM/ECU (on board computer).
L.E.D Load Resistors are a simple and effective solution to this problem, by replacing the load that has been reduced by fitting L.E.D lamps.
In some cases, cruise control systems will not engage after L.E.D stops lamps have been fitted, this is due to the reduced draw of the L.E.D lamps. This can usually be corrected by fitting one load resistor to the stop circuit. This single Load Resistor can be fitted on either side of the vehicle. In some cases, it may be necessary to fit one to each side of the vehicle.
Narva’s L.E.D Load Resistors (Part No. 90034BL and 90036BL) feature aluminium heat sink housing, supplied with 2 wire tap connectors and 300mm of cable at each end. The 12 volt 21 watt load resistor has a resistance of 8 ohms and the 24 volt 21 watt load resistor has a resistance of 34 ohms. The resistors are easy to fit but should always be fitted on a heat resistant metal surface. Connect to the earth wire (or the chassis) and the indicator wire with the supplied wire taps.

Warning Load resistors must be mounted to metal surfaces. Operating temperatures can reach up to 170°C damaging plastics, carpets and painted surfaces.
This article is brought to you by Mechanic.com.au Premier Community Partner NARVA